Bicycle Days – Part Two
That first frame ended up being crashed within a few months. I acquired it back from the guy and still have it hanging on my shed wall, albeit with a few fittings removed when I ran short later on. I had a partially successful batch of stickers printed by a local screen printer, with the colours wearing off prematurely, later changing to the newly available computer cut out vinyl lettering. This had lots of advantages such as any colour or quantity I wanted. I could also clear coat over the writing making the finished product look much more professional. It was also more durable.
I did all the engraving on the frames myself freehand with a Dremel multi tool. No two frames were exactly the same! This meant I was not tied to any one component set so that I was able to develop every frame to be better than the last. The last few had JH engraved in various forms on the fork crowns, seat stays, or if monostay (single tube from seat lug to rear brake) seat stays (which a lot of the later ones were), on the side of the seat lug, on top of the lug above the forks and on top of the left side of the bottom bracket shell. In the end I built 59 frames, the last one being a track frame in 2000 for my only race as a veteran.
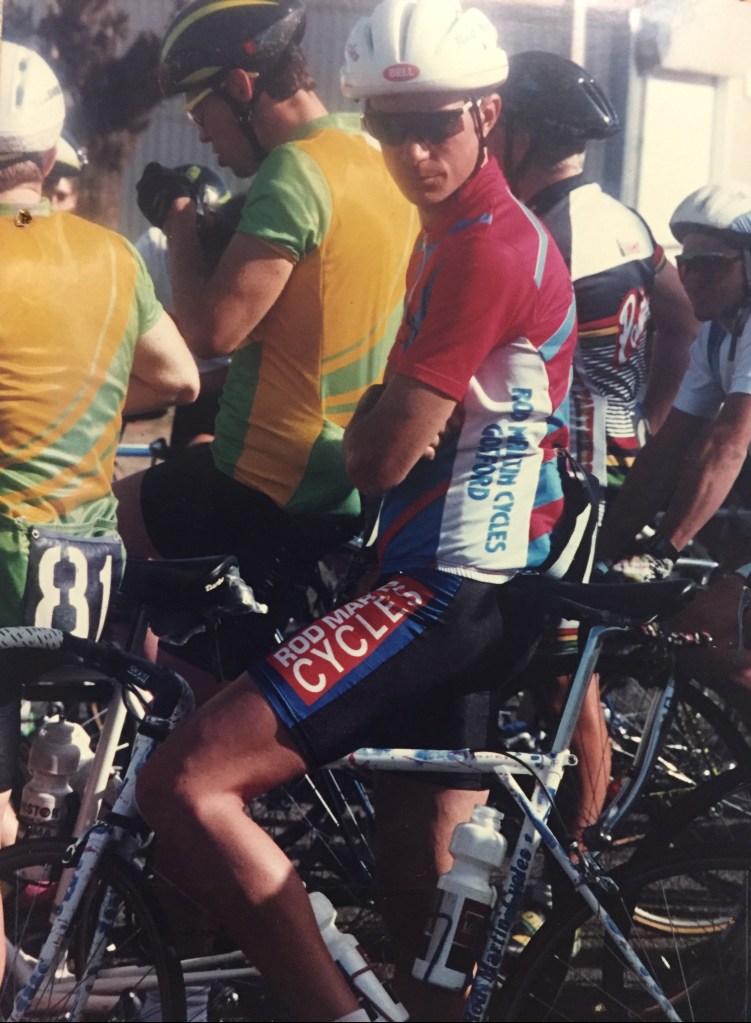
I had once again had an argument with Dad and worked for Rod Martin for the entire year 2000. I became reacquainted with a lot of guys from my racing days and was talked into riding in the club Veteran 1 Team Pursuit Team in the 2001 State Championships. The other tempting factor to build this frame was the chance to ride on the Olympic velodrome. I had never ridden on a board track before, or an indoor one either for that matter. I did three months training of about 40 minutes 3 or 4 times a week, built myself the frame, acquiring and buying components from Rod, including my very first set of track wheels I bought as a junior when they turned up at the shop on a trade in! In the end we came 7th from 7 teams, but at least I wasn’t the slowest rider in the team.
I strived to make every frame better than the last, in terms of construction methods, finish and performance. I read everything I could get my hands on about the latest trends in top end bike design, new tubing available, what lugs were available, where et cetera. I was also constantly thinking of ways to make the frames stiffer without adding weight, given that tubes and lugs only came in one standard set of diameters. I also built a number of mountain bike frames at this time with the newly available 1/8” oversize, but heavy tubes and lugs.
A lot of my early frames were made from Ishiwata 019 tubing because it was readily available from Hanley Trading and was fairly cheap. In my opinion it was very underrated. It was about the same gauges as Reynolds 531 Professional. I even made a mountain bike frame for my wife from it (we still have it). Ultimately my favourite tubing became Tange Prestige, it was the same gauges as Reynolds 753, but didn’t have the heat effected issues that 753 had, it was also surface hardened to make it stiffer, it was very hard on hacksaw blades.
In the pursuit of stiffness I developed a monostay seat stay design. The first version was on a low profile “funny bike” frame that was ridden to a number of State and National titles with a few different riders, the next was on my own mountain bike frame. I eventually settled on a standard design and later ones also used curved seat and chain stays (viewed from the rear). My theory being that the opposing curves would fight each other resulting in a stiffer rear triangle without effecting ride quality.
By the time I built my last frames Tange Prestige Mountain bike tubing and suitable sized investment cast lugs were available and also an even lighter of version of Prestige road tubing called “Prestige Superlite”. I built two road frames using the over size down tube from the mountain bike tube set, the Superlite seat tube as the top tube and the Superlite down tube as the seat tube, these two frames also had seat stays that crossed the seat tube and brazed to it and the top tube a-la GT – these stays were also curved. The two frames were designed to use the longer seat poles and raised handlebar stems that were available for mountain bikes to keep the frames as small possible, thus reducing weight and increasing rigidity. These characteristics are now standard features of modern racing bike frames. Back in 1992 these two frames were years ahead of their time. I’m not aware of any other builder/manufacturer building a frame like this. One of the frames was for myself (I would really like to find and buy this frame back) and was the last road frame I raced seriously. The other frame was for a mate – he still has it and his brother continues to ride it occasionally.